

- Controlling costs: Restrict access to expensive models
- Ensuring compliance: Limit models to approved ones
- Maintaining consistency: Standardize model usage across teams
Setting Up Model Provisioning
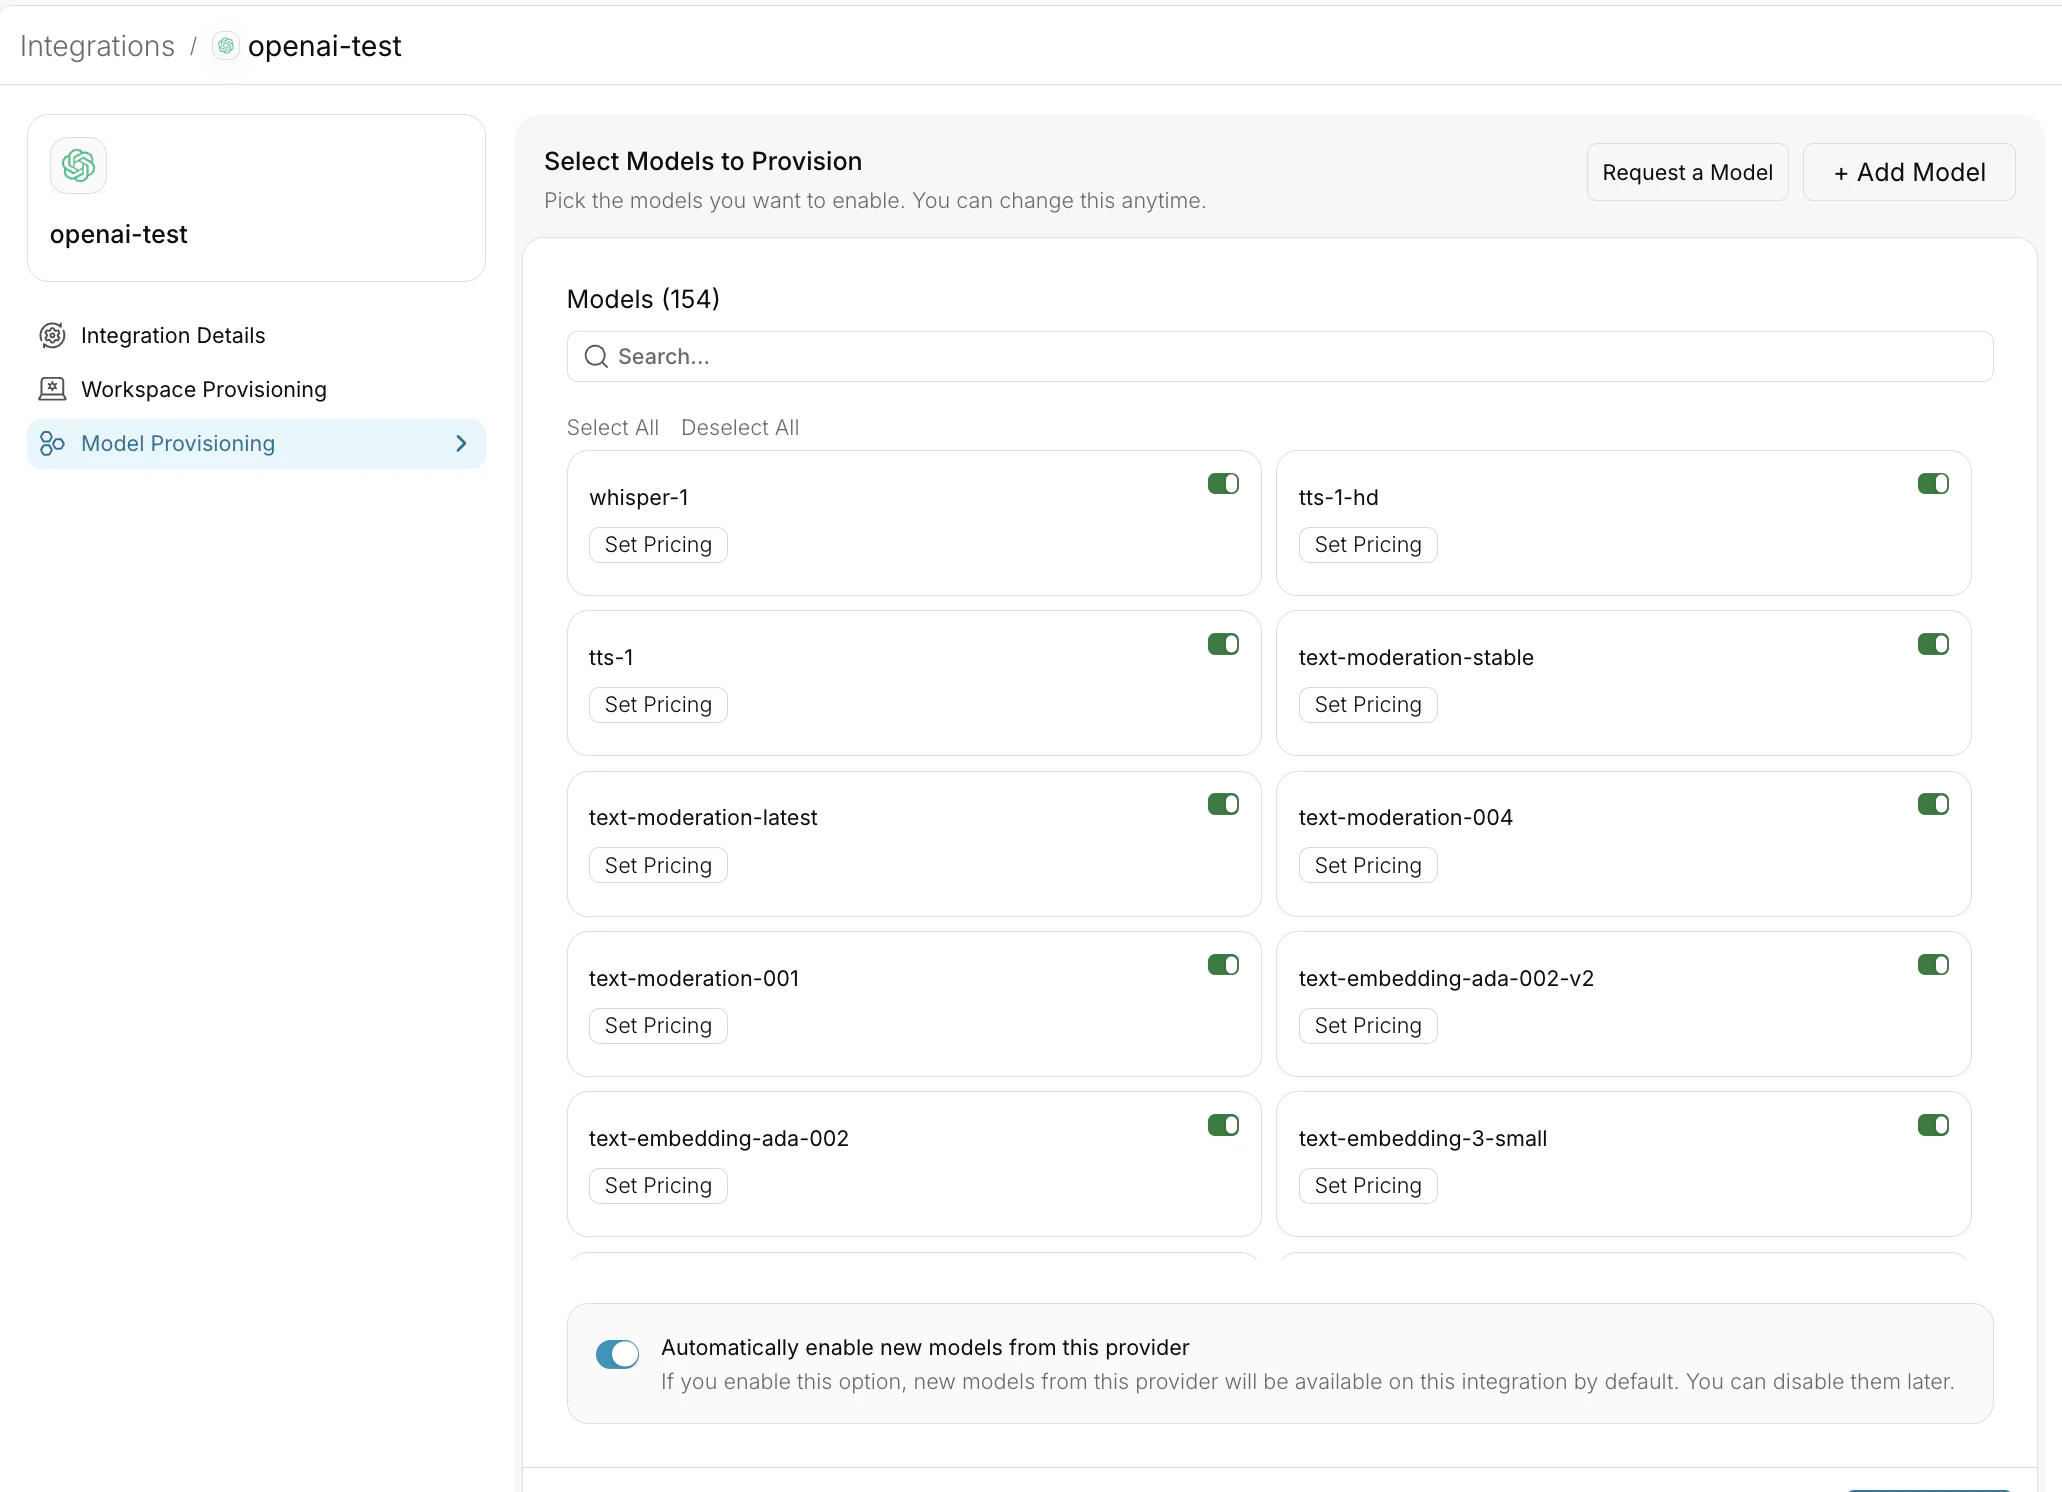
- In your Integration settings, navigate to Model Provisioning
- Select the configuration options:
- Allow All Models: Provides access to all models offered by the provider
- Allow Specific Models: Create an allowlist of approved models
Advanced Model Management
Custom Models
The Model Catalog isn’t limited to standard provider models. You can add:- Fine-tuned models: Your custom OpenAI or Anthropic fine-tunes
- Self-hosted models: Models running on your infrastructure
- Private models: Internal models not publicly available
custom_host and custom_headers let different models under the same integration route to different upstreams or send different headers — model-level headers override integration-level headers.
Custom Models
Add and manage your fine-tuned, self-hosted, or private models
Overriding Model Details (Custom Pricing)
Override default model pricing for:- Negotiated rates: If you have custom pricing agreements with providers
- Internal chargebacks: Set custom rates for internal cost allocation
- Free tier models: Mark certain models as free for specific teams
Custom Pricing
Configure custom pricing for models with special rates