Understanding the Integrations Dashboard
The Integrations page is organized into three tabs, each serving a distinct purpose:All: This is a comprehensive list of all 50+ providers Portkey supports. This is your starting point for connecting a new provider to your organization.Connected: This tab lists all the integrations that you have personally connected at the organization level. It’s your primary view for managing your centrally-governed providers.Workspace-Created: This tab gives you complete visibility and governance over any integrations created by Workspace Admins for their specific workspaces. It ensures that even with delegated control, you maintain a full audit trail and can manage these instances if needed.
Creating and Provisioning a New Integration
This guide walks you through connecting a new provider and making it available to your workspaces.Step 1: Connect the Provider
If you are an existing Portkey user, this step is similar to adding an AI Provider in the Model Catalog, but at the organization level.
- From the
Alltab, find the provider you want to connect (e.g., OpenAI, Azure OpenAI, AWS Bedrock) and click Connect. - Fill in the details:
- Integration Name: A friendly name for you to identify this connection (e.g., “Azure Production - US East”).
- Slug: A unique, URL-friendly identifier. This will be used by developers to call models (e.g.,
azure-prod-useast). - Credentials: Securely enter your API keys or other authentication details. These are encrypted and will not be visible after saving.
- Click Next.
Special Case: Connecting to Azure OpenAI
Portkey allows you to manage multiple Azure deployments under a single integration. This is useful when different models or versions are in separate deployments.- When connecting an Azure integration, you can add multiple deployments.
- Assign a unique
aliasto each deployment (e.g.,gpt-4o-deploy,gpt-35-deploy). - Set one deployment as the default.
alias as the model in their LLM request. If no alias is provided, the default deployment is used.
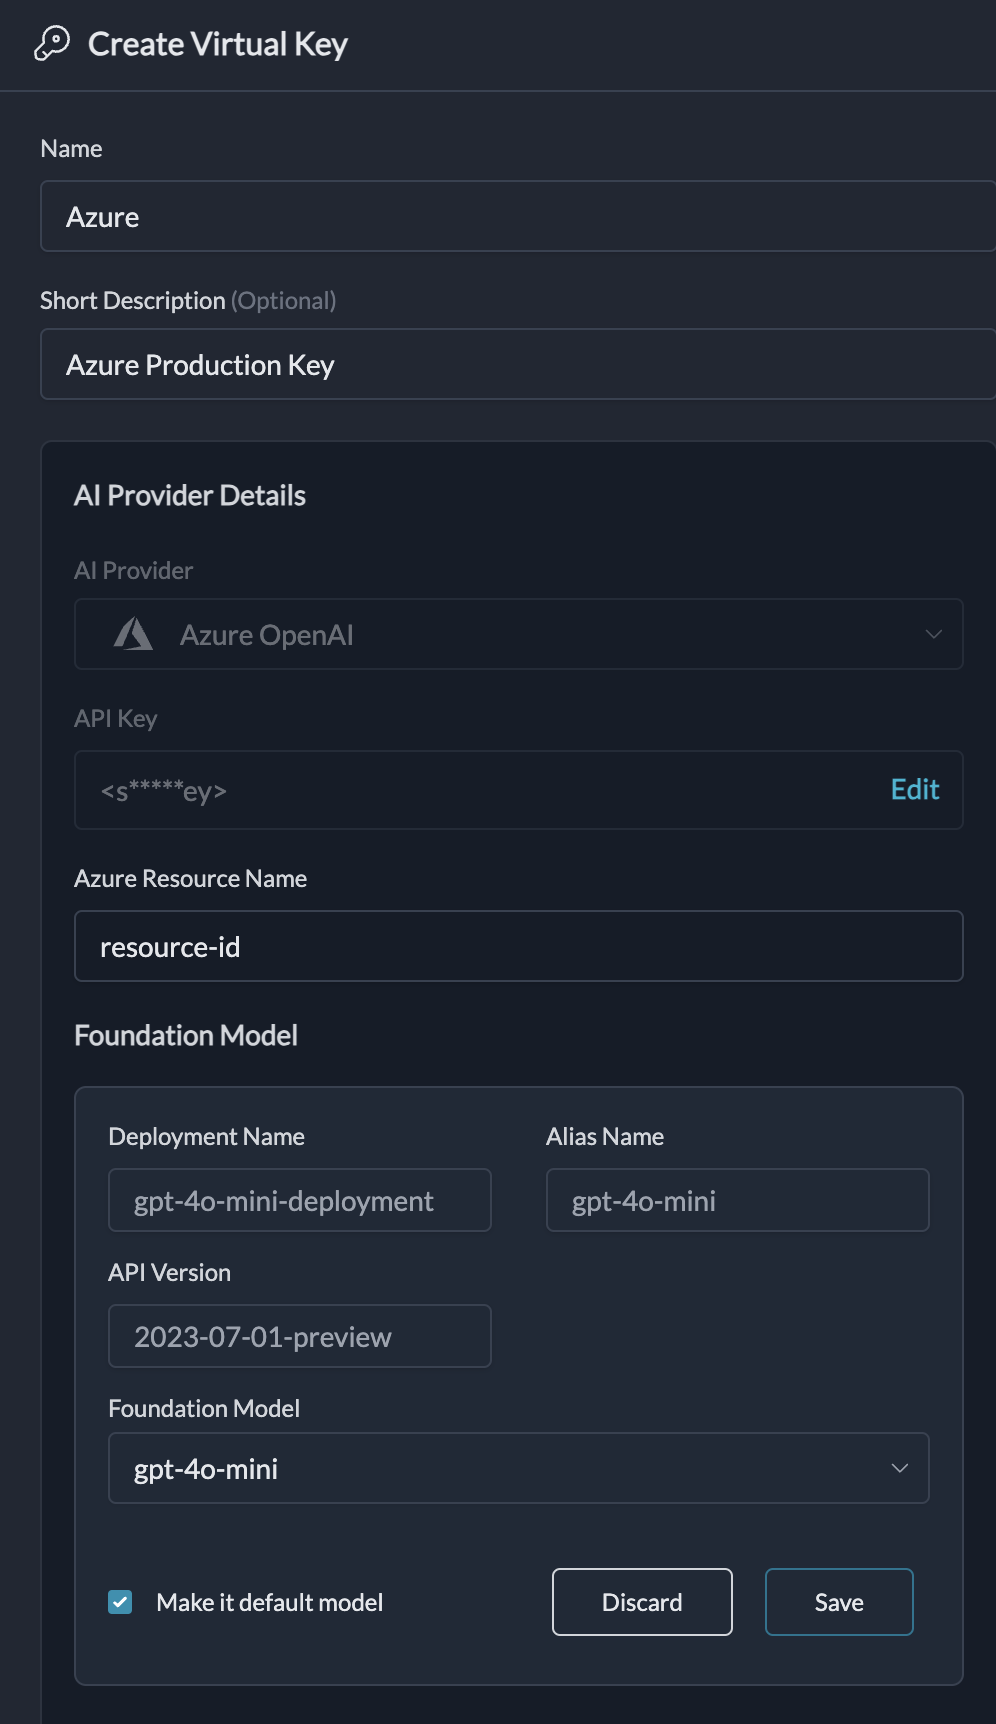
Configure Multiple Azure Deployments under one Integration
Special Case: Connecting to Self-Hosted LLMs
You can manage your privately hosted models alongside commercial providers.- When creating a new integration, enable the “Local/Privately hosted provider” toggle.
- Select the API specification your LLM implements (e.g., OpenAI).
- Enter your model’s base URL in the “Custom Host” field and add any required authentication headers.
Step 2: Provision to Workspaces
Here, you decide which teams get access to this provider and under what conditions.- You will see a list of all workspaces within your organization.
- Use the toggle next to a workspace name to enable or disable access.
- For each enabled workspace, you can optionally click Edit Budget & Rate Limits to set specific spending caps or request limits that apply only to that workspace for this integration.
- (Optional) For Provisioning to New Workspaces: Toggle on “Automatically provision this integration for new workspaces” to ensure any future teams automatically get access with a default budget/rate limit you define.
- Click Next.
Step 3: Provision Specific Models
This is where you enforce model governance and control costs.- You will see a list of all models available from the provider you’re connecting.
- You can Clear all and then select only the models you wish to approve for use.
- (Optional) For Dynamic Models: If you’re using a provider like Fireworks AI with many community models, you can toggle on “Automatically enable new models”. For providers like OpenAI or Azure, we recommend an explicit allow-list for better cost control.
- Click Create Integration.
Connected tab. The workspaces you provisioned will see this as an available “AI Provider” in their Model Catalog, with access only to the models you specified and constrained by the budgets you set.
Setting Budgets and Rate Limits
When provisioning an integration to a workspace, you can enforce powerful governance rules by setting budget and rate limits. This gives you granular control over costs and usage patterns.Budget and Rate Limits are available on Enterprise and select Pro plans.
- Cost-Based Budgets: Set a maximum budget in USD. Once the limit is reached, the provider will be disabled for that workspace to prevent overspending.
- Token-Based Budgets: Set a maximum number of tokens that can be consumed.
- Request-Based Rate Limits: Control the number of requests allowed per minute, hour, or day.
- Token-Based Rate Limits: Control the number of tokens consumed per minute, hour, or day.
FAQs
How are provider API keys stored?
How are provider API keys stored?
Your API keys are always encrypted and stored in secure, isolated vaults. They are only decrypted in-memory, within sandboxed workers, at the exact moment a request is made to the provider. This ensures the highest level of security for your credentials.
How are my raw keys protected?
How are my raw keys protected?
We generate unique, random identifiers for each AI Provider. These identifiers are linked to your securely stored keys, but there is no mathematical relationship between them. This means your raw API keys can never be reverse-engineered from the provider slugs.